Support website of the Centro Audiovisual,
Facultad de Humanidades y CC de la Comunicación.
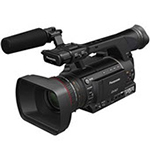
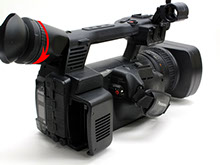
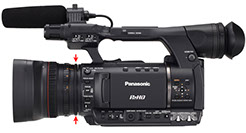
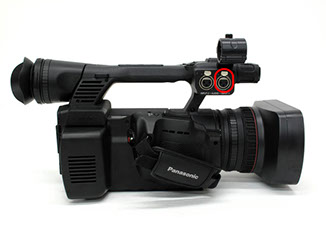
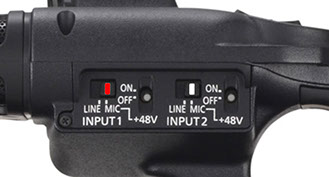
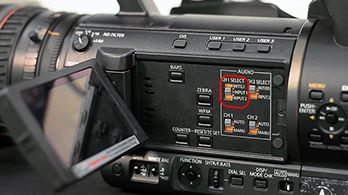
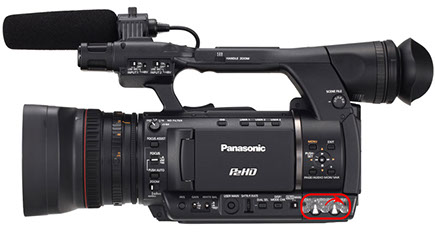
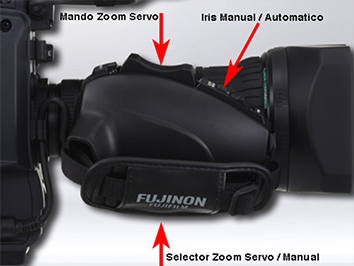
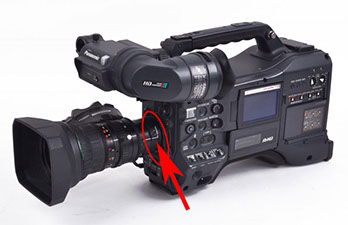
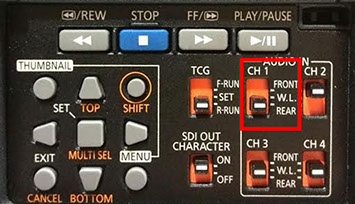
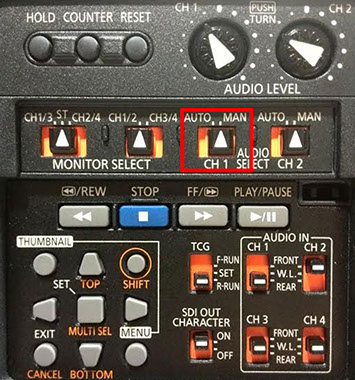
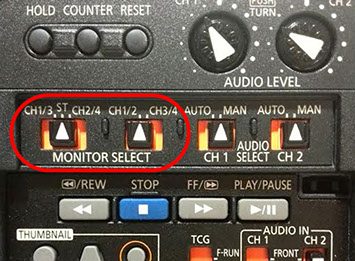
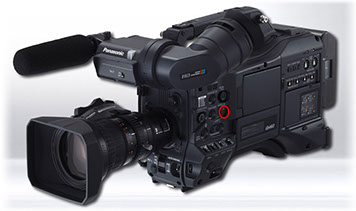
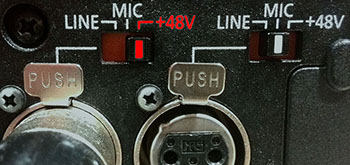
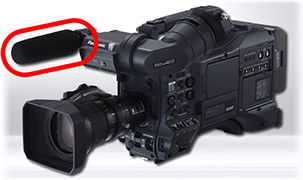
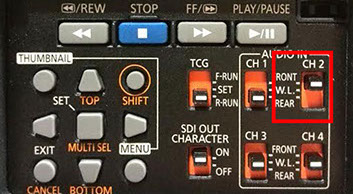
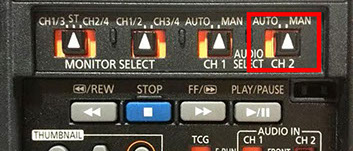
Camera 250
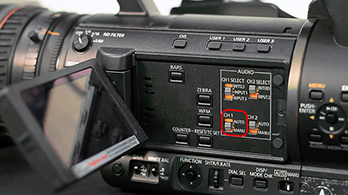
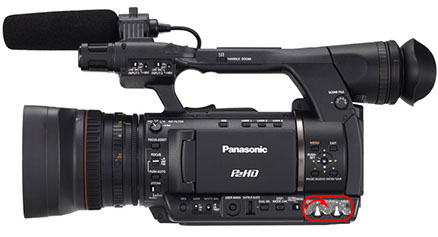
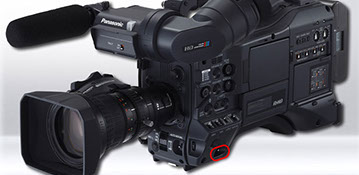
Panasonic AG-HPX250EJ
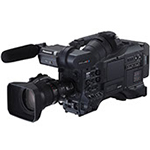
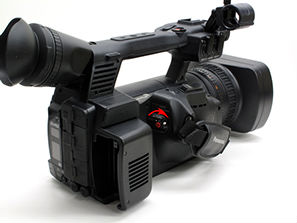
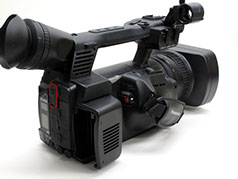
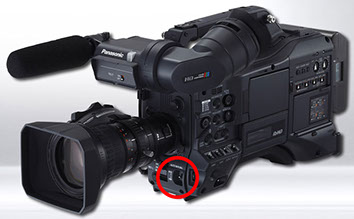
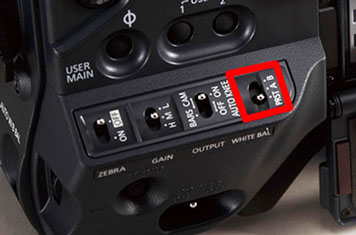
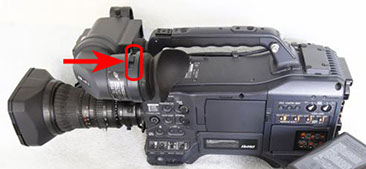
Camera 371
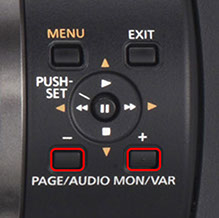
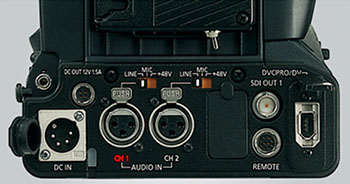
Panasonic AG-HPX371E